Register to receive free access to all teacher materials.

l Projects
Lesson Level
Beginner
Created By
Daniel Taylor and Ursula Wolz, Buzz Aldrin Middle School, New Jersey; pictures and video were provided by Bethany Jones, Mason Middle School, Ohio
Programming Language
Snap!
Subjects
Math
Grades
4-5, 6-8, 9-12
Standards
This project is aligned with Next Generation Science Standards in engineering (MS-ETS1-2 and MS-ETS1-3). Because students must develop written instructions for their game, it also meets Common Core ELA standards that focus on creating and revising clear explanatory texts (CCRA.W.2, CCRA.W.4, and CCRA.W.5 at various grade levels). With the blueprint extension, this project can also address Common Core math standards on geometry (7.G.A) and proportions (6.RP.A and 7.RP.A).
Teacher Note: This activity could also be used after one of the more advanced Finch lessons. In this case, students would be able to incorporate Finch sensors into their games. In addition, you can extend this project by asking students to create blueprints for their game pieces during Stage 2 (Planning, Making, and Coding). Students can draw each piece to scale before they begin building. Completing this step will allow students to meet math standards that they could not meet during the gaming project without this extension.
Stage 1: Introduction to Gaming
You have already learned how to make the Finch move, change colors, and make sounds.
Now you should begin thinking about different games that you like to play. Think about all types of games, including board games, video games, playground games, and sports. What is important in all of these types of games? Consider the following:
- How many people can play?
- What is the level of difficulty?
- How can you score points/win the game?
After reflecting on what is important for making a game fun and effective, you are now ready to create your own board game using the Finch!
Stage 2: Planning, Making, and Coding
To design and create your game, you will work in groups of 2-4 students. When brainstorming ideas, think about all of the things that the Finch can do.
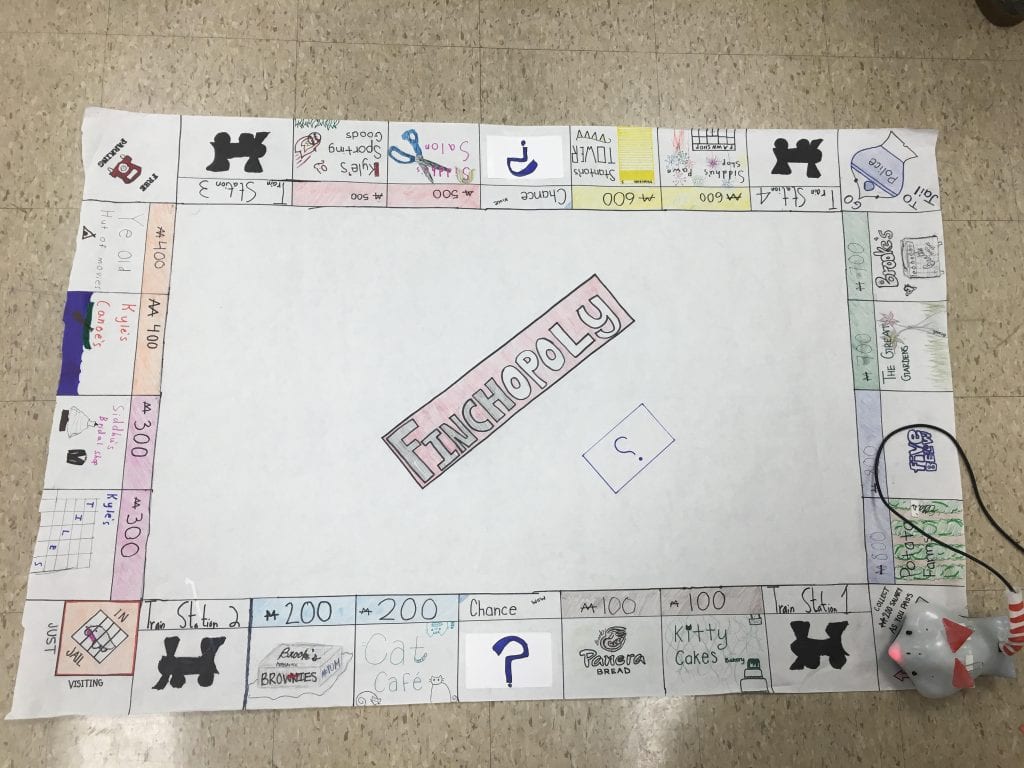
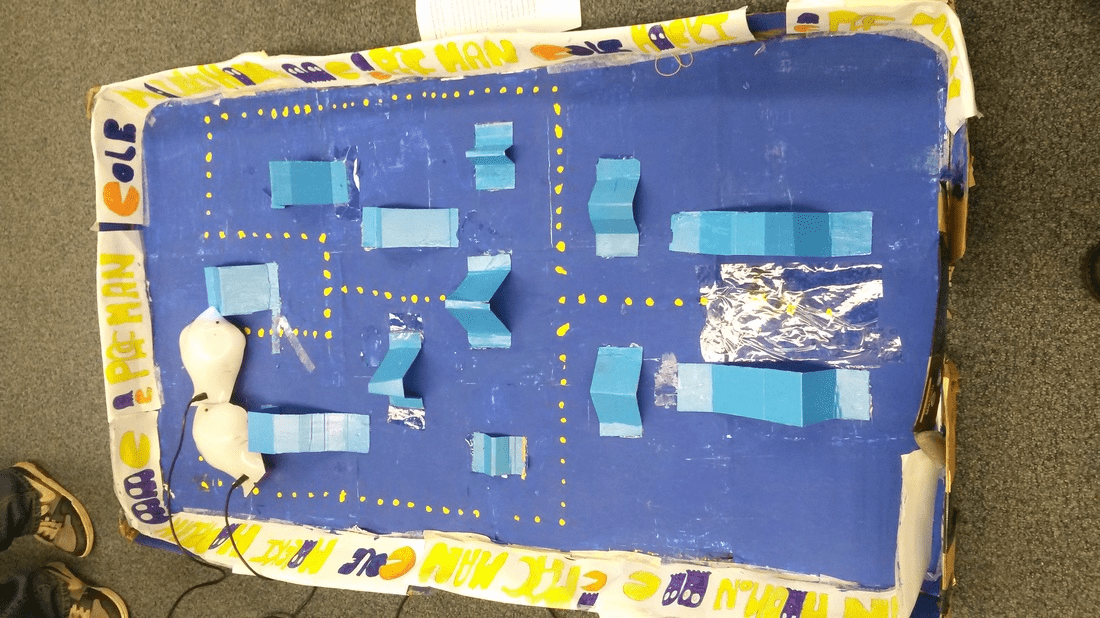
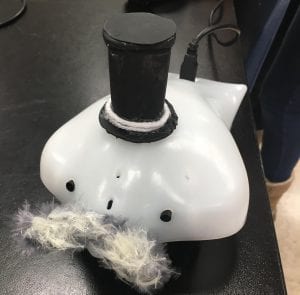
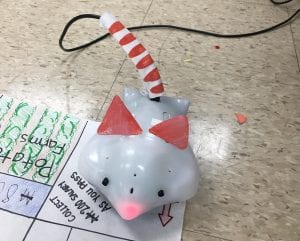
You and your team will need to create any pieces that are needed to complete your game. Will players need a game board, a spinner, a ball, or a goal? Think about every piece that will be necessary in order to play!
In this stage, you will also write the code to command the Finch to complete your game. Be sure to test your code multiple times throughout the process.
In order for other people to be able to play your game, you must create a set of directions. Consider these questions:
- What pieces will players need?
- How many players?
- What do you do during each turn?
- What do the special spaces on your board mean?
- What are some examples of moves that are against the rules?
- How does someone win the game?
Looking at the directions for existing board games may help you to organize your own directions.
Stage 3: Testing
Now that your group has created the first draft of your game, you will take the time to play some other groups’ games to give them feedback. Remember that when providing feedback to your peers, it should be honest, constructive, and considerate. In order to provide groups with written feedback that they can use in the next stage, think about some of the following questions:
- How easy/hard was the game to play?
- Were the directions easy to follow? Was there anything that was confusing?
- Did you have fun playing the game? What is one thing that might make it more interesting?
- What was your favorite part of playing the game?
Stage 4: Reviewing and Revising
Take some time to review the feedback that your peers have provided. What are some common themes that were mentioned by more than one group? When looking at the feedback, think about how you can use your peers’ advice to make your game better.
Now it is time to work with your group and make some changes to your game based on the feedback from your peers. Remember that there is no such thing as perfect, and that everyone can make improvements.
Stage 5: Submitting Your Final Project
Before submitting your final project, you should test your game to be sure that all of the changes you made are working correctly. Did you take the time to address the feedback from your peers? Once all changes are made and everything is working properly, your game is complete! You should submit all game pieces, the directions sheet, and the code that you wrote to your teacher.