Register to receive free access to all teacher materials.

l Projects
Created By
Brad Cranston
Programming Language
Any language supported by Hummingbird Duo
Subjects
Science
Grades
6-8, 9-12
Objective & Learning Goals
- Model the setae and muscles of an earthworm.
- Analyze how an earthworm sequences actions to produce locomotion.
- Analyze how the mechanical model can be changed to improve locomotion.
Standards
Middle and high school Next Generation Science Standards for Engineering Design.
NGSS MS-LS1-3. Use argument supported by evidence for how the body is a system of interacting subsystems composed of groups of cells.
NGSS HS-LS1-2. Develop and use a model to illustrate the hierarchical organization of interacting systems that provide specific functions within multicellular organisms.
Photo Gallery
In this activity, you will create your own robotic earthworm! To do this, you will need to understand how an earthworm moves. Start by watching this video, then read this explanation. An earthworm moves using circular and longitudinal muscles, as well as bristles called setae. The earthworm can push the setae out of its body to grab the soil around it. To move forward, the worm uses its setae to anchor the front of its body and contracts the longitudinal muscles to shorten its body. Then the worm anchors the back of its body with setae and contracts the circular muscles to lengthen its body. The result is that the worm inches forward. In this lesson, you will use servo motors to model this movement.
Materials
- 4 servos
- 4 alternate servo horns (not included with your servos. You may also choose to break off one side of the provided two-sided servo horn)
- 2 servo extension cables (included in your Hummingbird kit)
- Small screwdriver
- 2 Lego Technic beams of length 5
- 2 Lego Technic beams of length 9
- 2 Lego Technic friction axle pegs
- 2 paper clips
- Cardboard
- Velcro
- 2 ping pong balls (optional)
For this activity, you will use four servos. You will be removing the white circle from each servo and replacing it with the two-piece alternate servo horn shown below. You can find these pieces in the small plastic bag of parts that came with each servo.
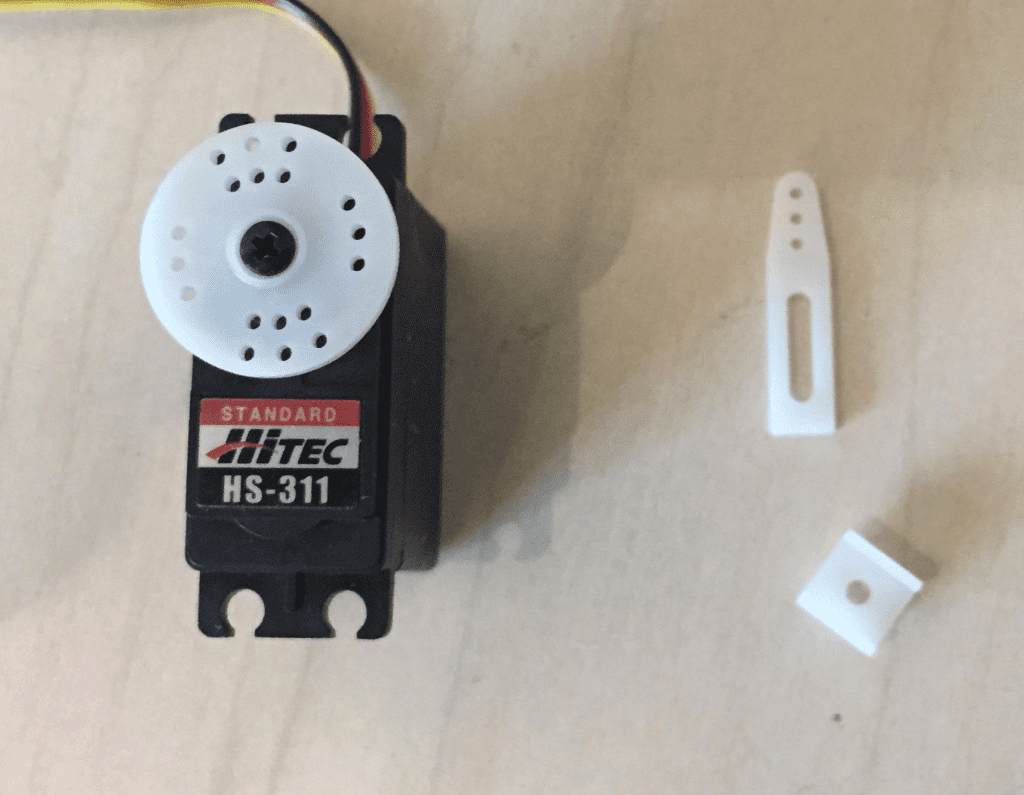
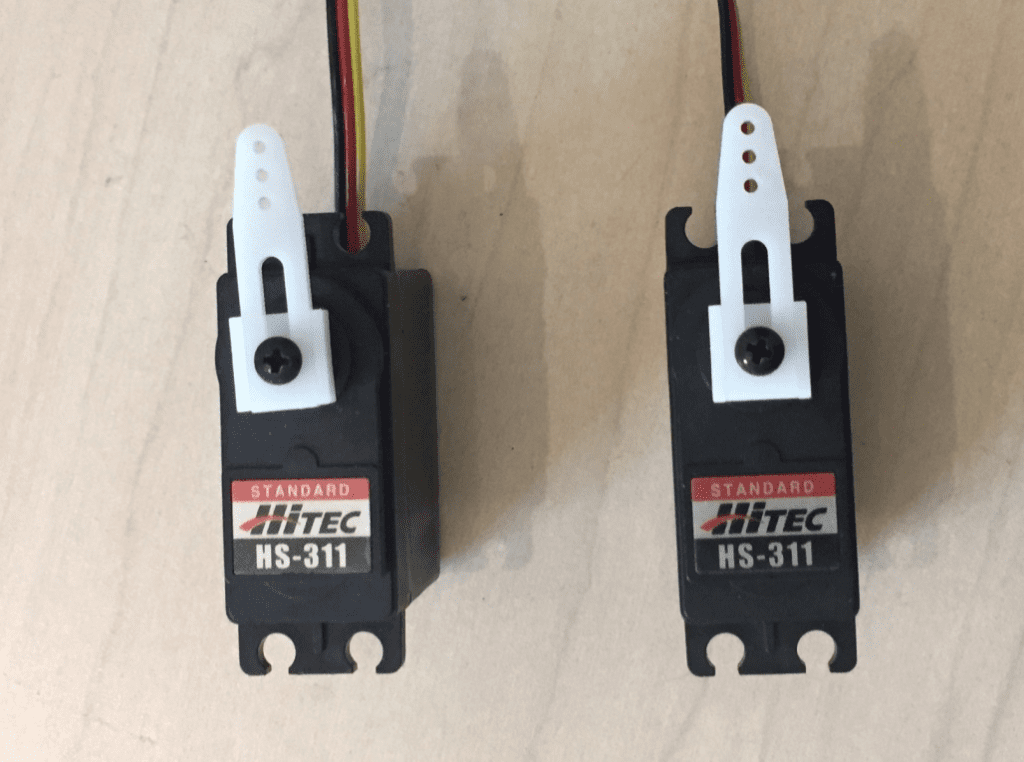
Set two servos to 90°. Then use a screwdriver to remove the screw from each servo. Remove the white circle and put on the new servo horn so that it is pointing straight up. Replace each screw.
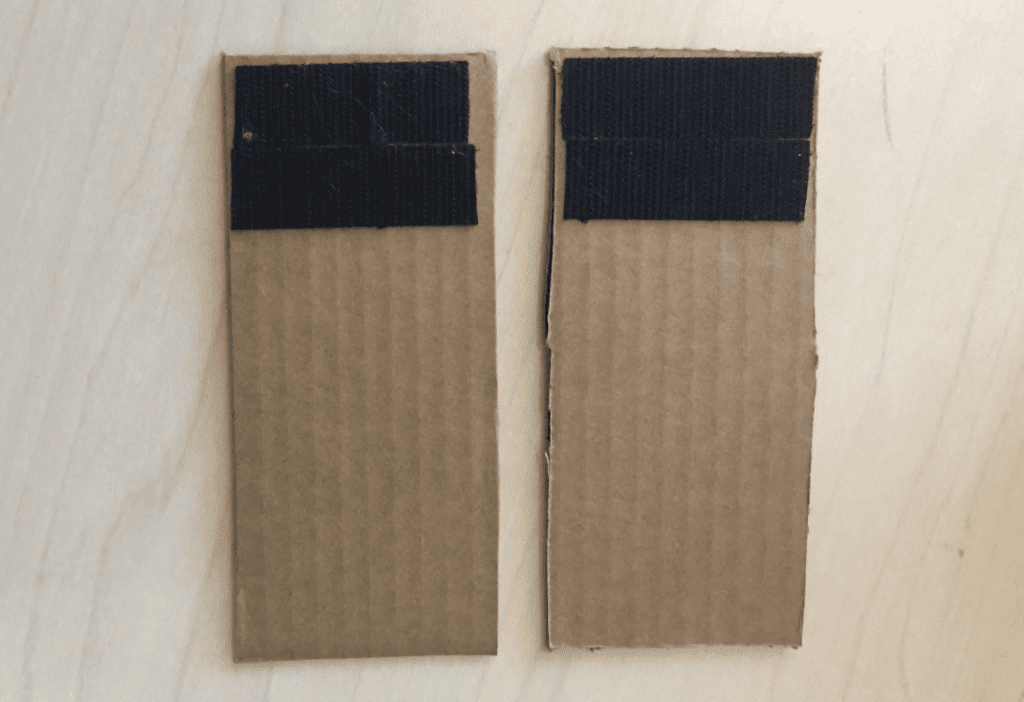
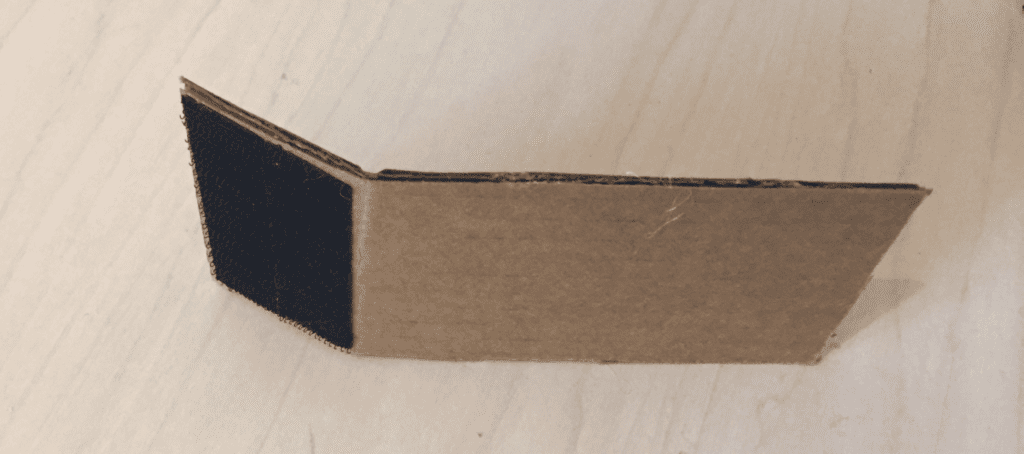
Next, cut two 7 cm by 15 cm pieces of cardboard. You will also need four 7 cm strips of the hook (rough) side of Velcro. Glue two strips of Velcro along one end of each piece of cardboard. The Velcro will be the setae of your earthworm!
Bend each piece of cardboard as shown below.
Flip each piece of cardboard over and glue a servo to the end without Velcro.
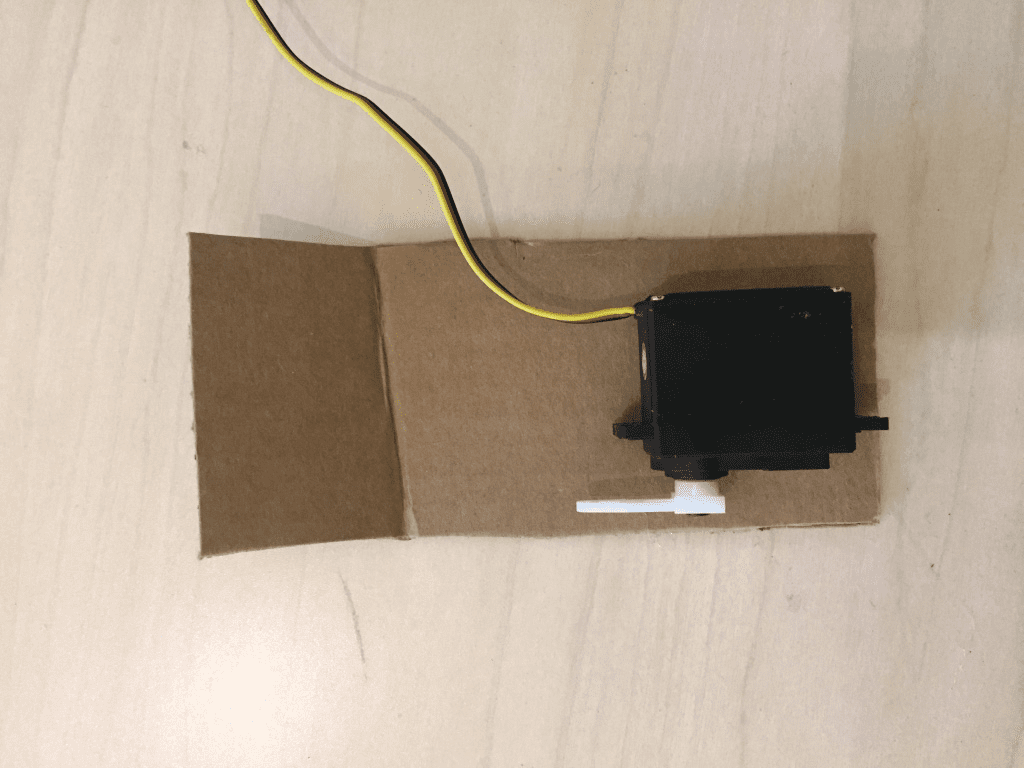
Unfold a paper clip.
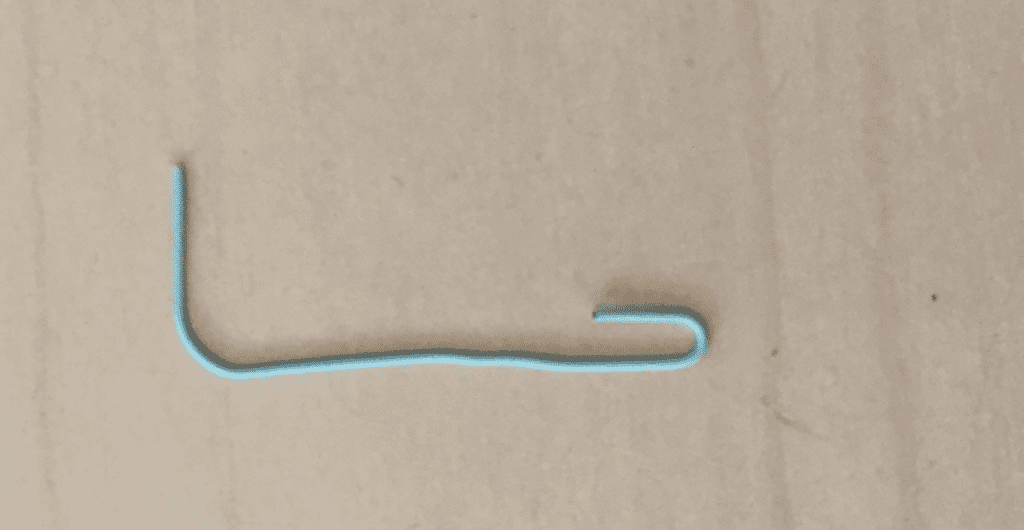
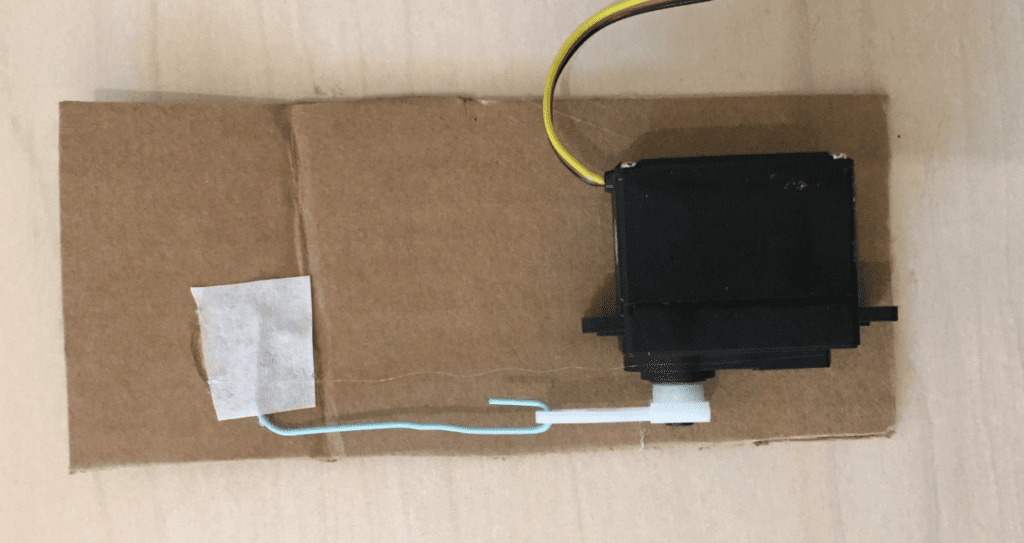
Place the paper clip through the hole at the tip of the servo horn, and hot glue the other end of the paper clip to the cardboard.
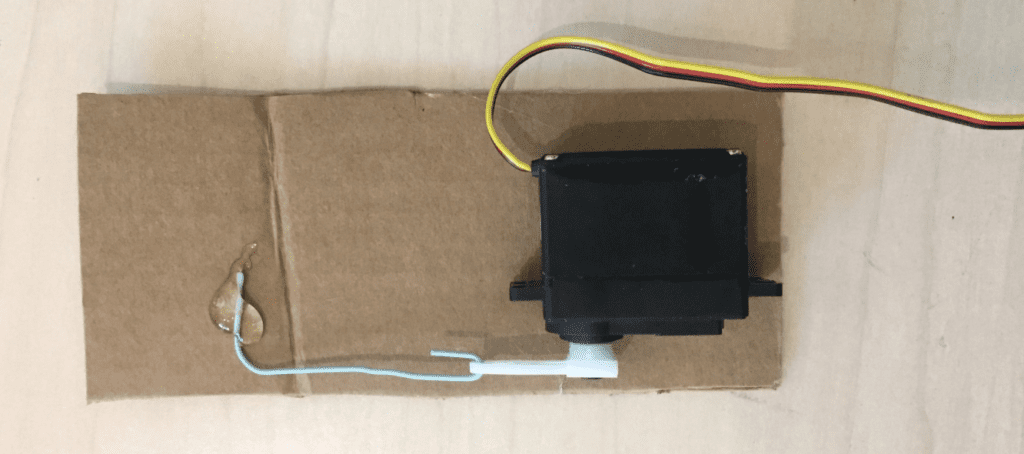
For extra security, while the hot glue is still warm, you can place a small piece of masking tape over it and gently flatten the hot glue. Use a popsicle stick to avoid burning yourself.
Now your setae are ready! Test them by writing a program to raise and lower each one.
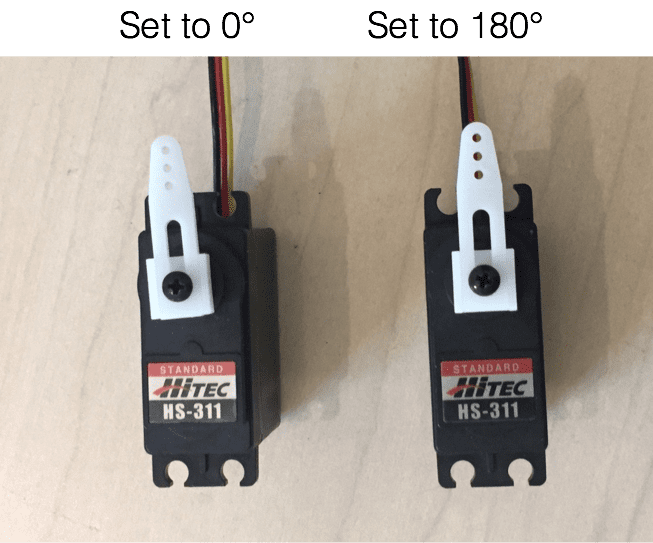
To make the central part of the earthworm, you will need two more servo motors with the alternate servo horn. Set one servo to 0° and one to 180°. Then remove the white circle from each servo and attach each servo horn so that it points straight up.
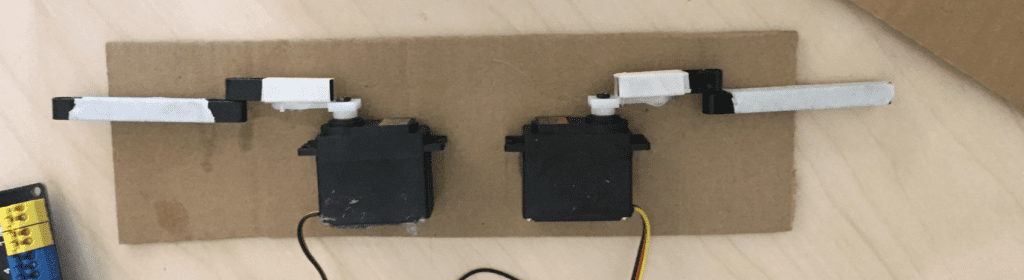
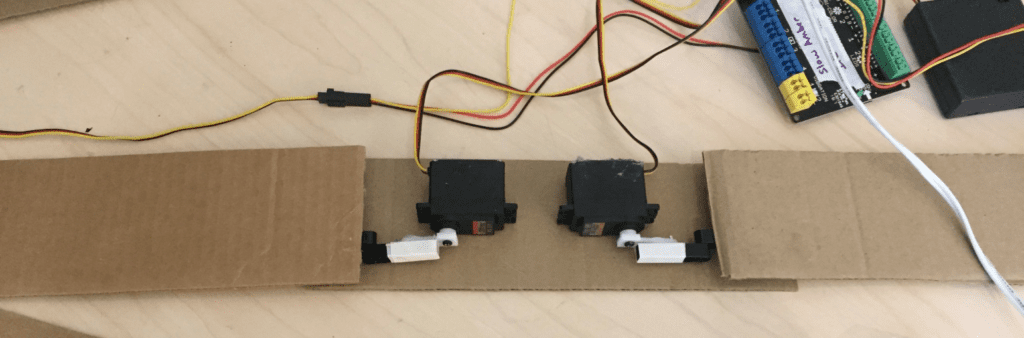
Glue these two servos to a piece of cardboard approximately 7 cm by 26 cm, as shown below. Gather the Lego bricks needed for your worm: two Technic beams of length 5, two Technic beams of length 9, and two Technic friction axle pegs.

Glue a beam of length 5 along each servo horn, then use a friction axle peg to connect a beam of length 9. If desired, you can use masking tape to make it easier to remove the hot glue from the beams when you want to take your worm apart.
Glue a 7 cm by 30 cm piece of cardboard along each beam of length 9.
Finally, attach one of the your setae units to each end of the worm. Use a spacer to tilt the servo end of the unit so that the setae will grip the ground. Here, we used a ping pong ball as a spacer.
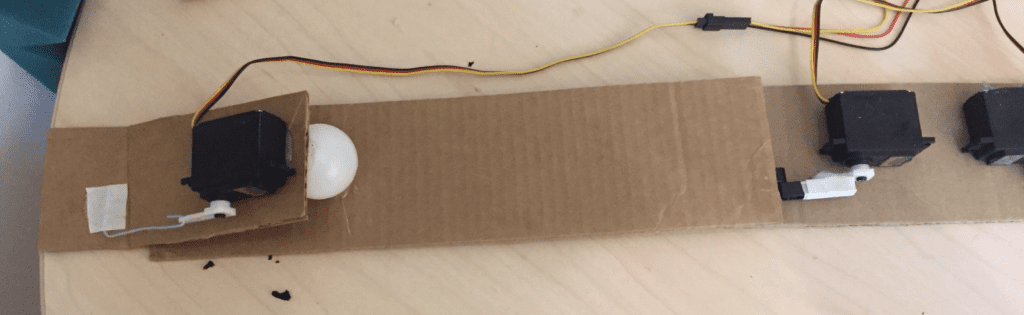
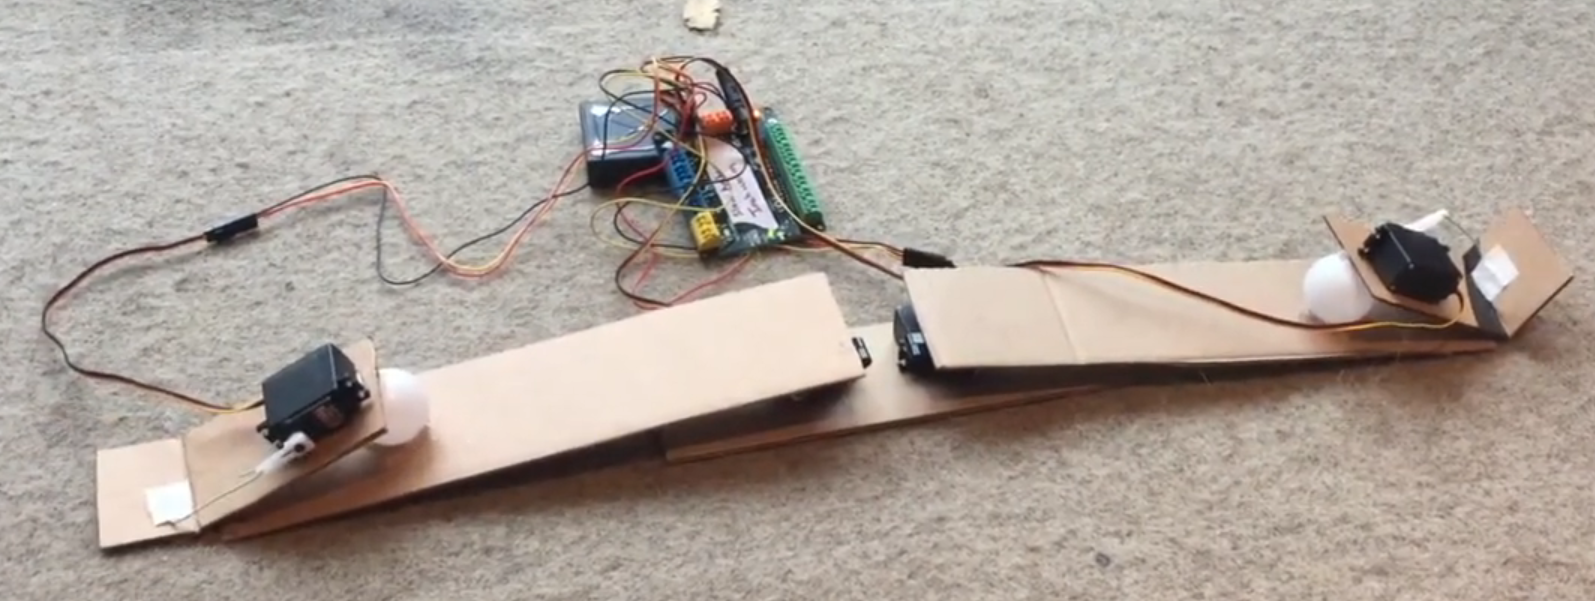
Your worm is complete! Connect all the servo motors to the Hummingbird board. You will need to use servo extension cords for the setae motors. You can find these in your Hummingbird kit.

To program your worm to move, you will need to think very carefully about the sequence of events that has to occur. The worm needs to push one set of setae into the floor while raising the other. Then it needs to use the central motors to shorten its body. Next, it needs to switch which set of setae is pressed into the floor, and finally, it should extend its body. Watching the video at the top of this page may help you think about these steps. You should test your worm on carpet or another surface that its Velcro setae will be able to grip.
Once you have a basic earthworm working, think about how you can make it better. Do you have an idea for better setae? Do you want to change how it contracts? See how you can improve this design!